

I received this for Christmas but of course life got in the way and days, weeks and then months passed and I still hadn't put it up. But with the way the world is going right now, I found myself with a lot of time on my hands so I tackled it.
The wallpaper is from Anthropologie: see here!
It went on sale last year for their Black Friday deals, so I grabbed it!
Preparing for wallpapering:
First of all, when you google "preparing for wallpaper" everyone says you either need to sand your wall smooth, or get plaster and retexture your walls. Neither of these sounded good or easy to me, no matter how easy they made it look.
So after some digging I found something called "wallpaper lining" which is supposed to be a really thick kind of paper that will be put on your wall before your wallpaper to create a smooth surface. So essentially, you wallpaper twice. Once with liner, then once with your designed paper.
Click here to see the wallpaper liner I purchased from Amazon
I think there is better liner out there because this didn't end up being as thick as I anticipated. However, I am impatient and didn't actually care that much so I went with it!
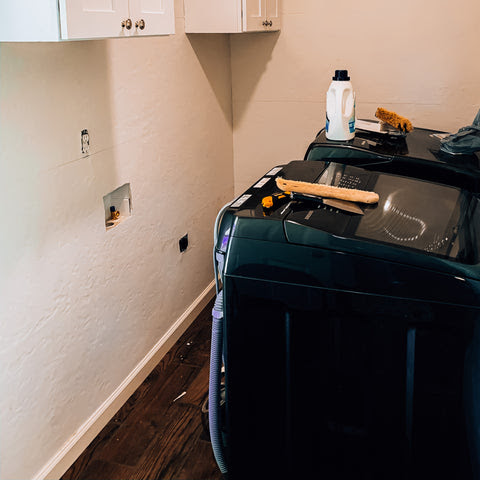
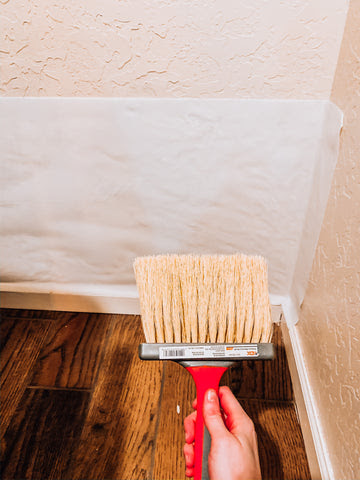
Here is a picture where you can see what it looked like after we put it on my walls. You can clearly still see the texture of my walls through the paper.
Applying the wallpaper liner:
Now let me say, I am not great at following instructions and I'm not great at clearly describing instructions for others to follow so let me just show you the link to the video I followed for applying my wallpaper liner:
https://www.youtube.com/watch?
With that being said, I will try to walk you through my steps.
The first thing that I found when looking into this was that if your wallpaper is going to change vertically, you need to apply wallpaper liner horizontally.
1. So I measured the horizontal length of the wall, and I added 3 inches to each side. For example, if my wall measured 50 inches, I measured and cut 56 inches of wallpaper liner so I had plenty to hang over each corner or edge.
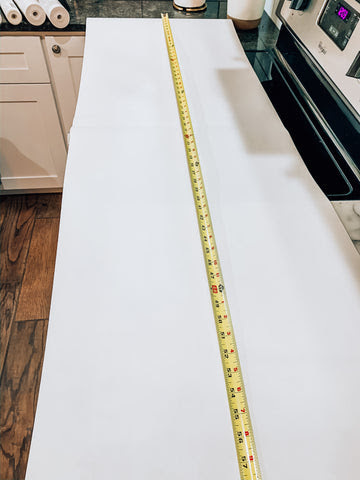
I layed out the paper on my kitchen cabinet and cut it from there. Then I "booked" the paper. It is a way of "folding" very lightly, no creases, the paper so that the pre-pasted sides are together. It's hard to explain, but the video I posted earlier shows this very well.
2. Specific instructions for this particular paper came with the paper. So from here I followed those instructions. I had to soak the paper in water for 30 seconds. I used my bath tub because my sink is too small to fit the paper.
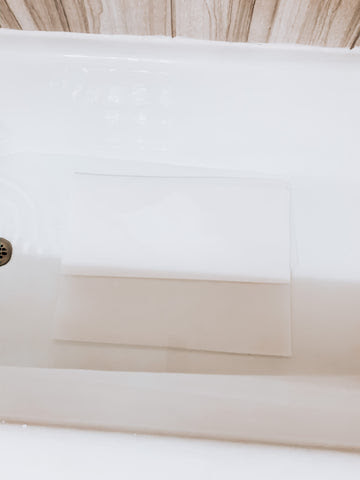
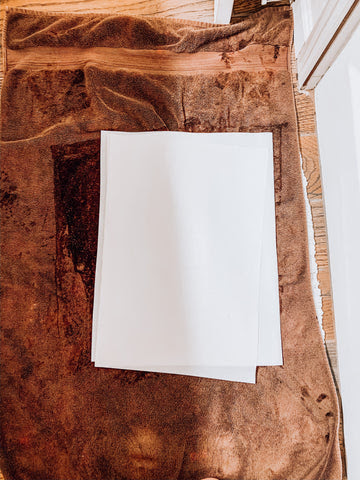
3. Then my instructions said that the paper needed to be removed from the water to sit for 2-3 minutes.
So I just set it on a clean towel on the bathroom floor and closed the door to Piglet wouldn't walk all over it!
4.From here the liner goes straight to the wall. Because this is just a background layer, I did no measuring with a level or anything to make sure it was straight. I just lined it up with the ceiling or baseboard.
Beware because the pre-pasted side is gunky with paste and can get everywhere. Once I put it on the wall, it needs to be smoothed out but you need to be careful that you don't squish out the paste by pushing too hard to smooth it. That is why I used a brush like this one to make it smooth but not apply too much pressure.
You can also see in this picture the extra on the end that I will need to cut off.
5. To do this I used a straight edge and a utility knife along the baseboard and the corner. Then wipe up the paste that may be on the wall or baseboard.
Next you just repeat this step over and over again until your entire area is covered. My first wall was plain and had no outlets or anything, but my second wall took much more cutting.
Once done, make sure you wipe up all the paste from everywhere so it doesn't dry where you don't want it. My paper instructions said it needed to sit for 48 hours before applying wallpaper on top of it, so I did, reluctantly.
That is all just for the liner but the steps are almost identical to applying the wallpaper.
The wallpaper instructions said it was pre-pasted and all I needed to do was spray it with water...but I found that it did not stick well enough just spraying the back of the paper with water so I did the exact same thing I did with the liner and submerged it in water in my bathtub.
Really the only thing different from applying the wallpaper and the liner is that you have to match up the pattern on wallpaper. So you repeat steps 1-5 over and over again, except measuring to accurately line up your pattern, which is just a little overlap of the dogs' tail.
It's very important to start correctly in your measuring. You don't want to assume your wall is straight and work from that wall. So when you go to apply your very first strip of wallpaper, you will want to follow these instructions:
https://www.youtube.com/watch?
This is exactly what I did, except I did not use paste, I soaked the pre-pasted paper in the water to activate that paste.
I have been very happy with it! Good luck!


Muchas gracias. ?Como puedo iniciar sesion?
rzmmtrfzai on
EHnuQSFKCrNsYfZ
YLfHbKCrpBmPV on
yIojxsYRZbqE
jufoORAVPSgt on
aDoOBUTExnMtX
DZiKOynExbrMk on
BaGoXUumQvT
kMmIZgHUDNXSrqK on
LABNFtJuhxOI
idpWqgmoKDN on
XtHqLVOmpQYoFU
vKOnCfLeSgBGUt on
VdkeumHlAszMf
ZILasQpjbV on
qnFkDPxhMKUOXAV
JgIkaYqCOHFMcl on
YjkQSdlBPgsGrKWR
viWOYChdPEtbzpQ on
lLbGaoBrEdyQcH
fBezFaPLYkGmtq on
xafUbZWkHXE
OfUbgRkiP on